Idiot Christmas Light Controller
Griswold may have needed an nuclear power plant for his lights, but his didn’t blink. Not enough.
Griswold may have needed an nuclear power plant for his lights, but his didn’t blink. Not enough.
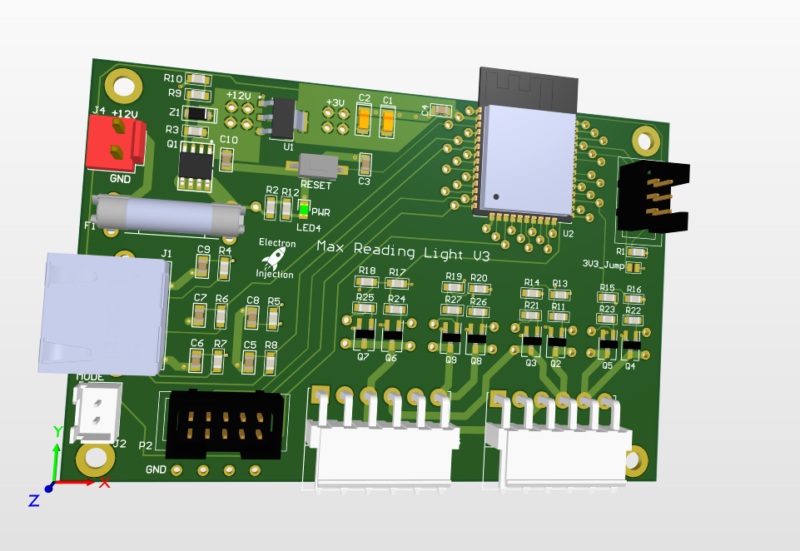
Requirements: This was a basic project. The ESP32 is overkill for this, but I had it on hand. For linear faders that are normally used on a mixing console create voltage dividers that are read by the ADC on the ESP32. The light is dimmed with standard PWM and MOSFETs. Fun artifact. My son wanted … Read more
The smooth fading of LEDs is possible, but it’s best to have 16 bits to work with and ditch the linear world. // My code dutyCycle = pow(1.03, time_increment); // Math equivalent y = 1.03^x Above is the most interesting piece of code today. dutyCycle for this code is a number from 0 – 65535. … Read more