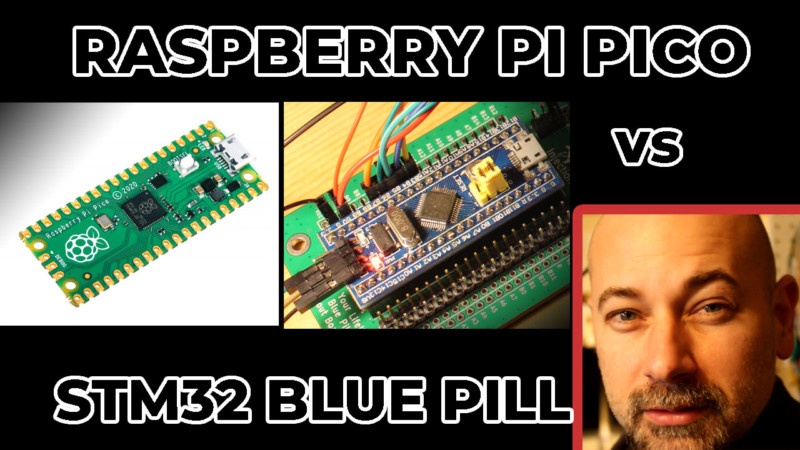
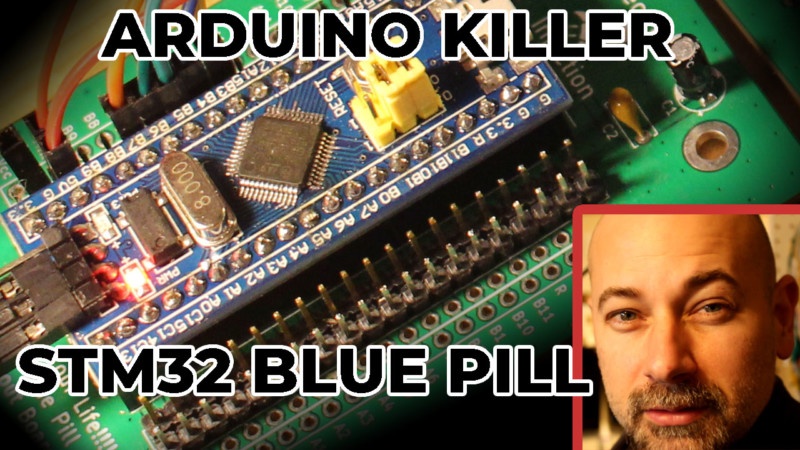
#002 – Arduino Uno Killer – STM32 Blue Pill

The STM32 Blue Pill is nothing new, but it may be new to you. In my view, fans of the Arduino Uno are missing out. There are numerous downsides to the Arduino Uno: no debugger, slow performance, and many others I discuss here. The STM32 Blue Pill ain’t perfect, though. It’s got a too-good-to-be-true price, which is actually a problem. I’ll talk about all of that, the fun of getting burned with a soldering iron, the need to shut off the voices in your head when getting your butt kicked by any formidable task.

#001 – The Arduino Programming Language Is Legit

Amongst hobbyists, engineers, and programmers there seems to be a great divide as to the validity of the Arduino Programming language (as seen in the Arduino IDE). To be fair, professional embedded C programmers drop down to the depths of register hell to squeeze every ounce of battery life or performance out of their microcontrollers. People digging the holes always lower the eyebrows at the people in the office. The factors that MIGHT matter for a given project are the speed of development, the efficiency of the code (in CPU cycles), and the compiled size of the code. I argue that for low-volume production (including hobbyist electronics projects) only one of these factors matter and it’s not code efficiency or file size.

Posted on Leave a comment

MIDI Test Code on Arduino and STM32 Blue Pill

This code turns the onboard PC13 LED of the STM32 Blue Pill on when a MIDI NoteOn message is received and turns the LED off when a MIDI Noteoff message is received. It’s my preferred way to confirm that a MIDI circuit is working. It relies on the Arduino MIDI Library.

#include <MIDI.h>

#define LED PC13 // LED pin on Arduino Uno

MIDI_CREATE_DEFAULT_INSTANCE();

void doSomeStuffWithNoteOn(byte channel, byte pitch, byte velocity);
void NoteOff(byte channel, byte note, byte velocity);

void setup()
{
  pinMode(LED, OUTPUT);
  MIDI.begin();
  MIDI.setHandleNoteOn(doSomeStuffWithNoteOn);
  MIDI.setHandleNoteOff(NoteOff);
}

void loop()
{

  MIDI.read();
}

void doSomeStuffWithNoteOn(byte channel, byte pitch, byte velocity)
{
  // note on code goes here
  digitalWrite(PC13, LOW);
}

void NoteOff(byte channel, byte note, byte velocity)
{
  // note off code goes here
  digitalWrite(PC13, HIGH);
}

Posted on Leave a comment

Heating Bed and Nozzle Simultaneously On CR-10 In Cura

On my CR-10, the nozzle heats up and then the bed heats up. This seems like a waste of time particularly in that I need to make sure the first layer of the print goes down correctly. After that, I don’t care. This sequentially heating dramatically increases my time investment in a print.

Warning: I’ve heard that the stock CR-10 power supply is trash and can’t handle this. I’ve been doing it for about a year (hundreds of prints) with no issue. Use at your own risk.

In Cura, go to Settings > Printer > Manage Printer > Machine Settings > Printer

———START G-CODE

M140 S{material_bed_temperature} ; start preheating the bed WITHOUT wait to what is set in Cura

M104 S{material_print_temperature} T0 ; start preheating hotend WITHOUT wait to what is set in Cura

M190 S{material_bed_temperature} ; start heating the bed to what is set in Cura and WAIT

M109 S{material_print_temperature} T0 ; start heating hotend to what is set in Cura and WAIT

M201 X500.00 Y500.00 Z100.00 E5000.00 ;Setup machine max acceleration

M203 X500.00 Y500.00 Z10.00 E50.00 ;Setup machine max feedrate

M204 P500.00 R1000.00 T500.00 ;Setup Print/Retract/Travel acceleration

M205 X8.00 Y8.00 Z0.40 E5.00 ;Setup Jerk

M220 S100 ;Reset Feedrate

M221 S100 ;Reset Flowrate

G28 ;Home

G92 E0 ;Reset Extruder

M92 E98 ; Brando configured extruder e-steps

G1 Z2.0 F3000 ;Move Z Axis up

G1 X10.1 Y20 Z0.28 F5000.0 ;Move to start position

G1 X10.1 Y200.0 Z0.28 F1500.0 E15 ;Draw the first line

G1 X10.4 Y200.0 Z0.28 F5000.0 ;Move to side a little

G1 X10.4 Y20 Z0.28 F1500.0 E30 ;Draw the second line

G92 E0 ;Reset Extruder

G1 Z2.0 F3000 ;Move Z Axis up

——— END G-CODE ————————–

G91 ;Relative positionning

G1 E-2 F2700 ;Retract a bit

G1 E-2 Z0.2 F2400 ;Retract and raise Z

G1 X5 Y5 F3000 ;Wipe out

G1 Z10 ;Raise Z more

G90 ;Absolute positionning

G1 X0 Y{machine_depth} ;Present print

M106 S0 ;Turn-off fan

M104 S0 ;Turn-off hotend

M140 S0 ;Turn-off bed

M84 X Y E ;Disable all steppers but Z